Overview
The Buildy’s interface is designed to be easy to use and understand.Creating an app
To creat an app, simply navigate to Buildy.ai, and type in the prompt to create an app.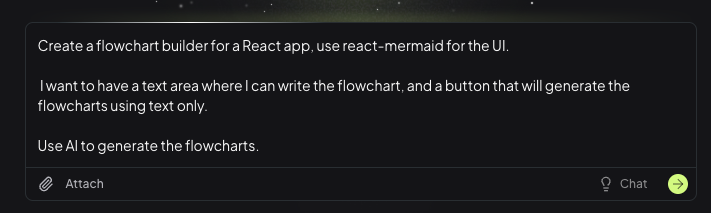
App creation process
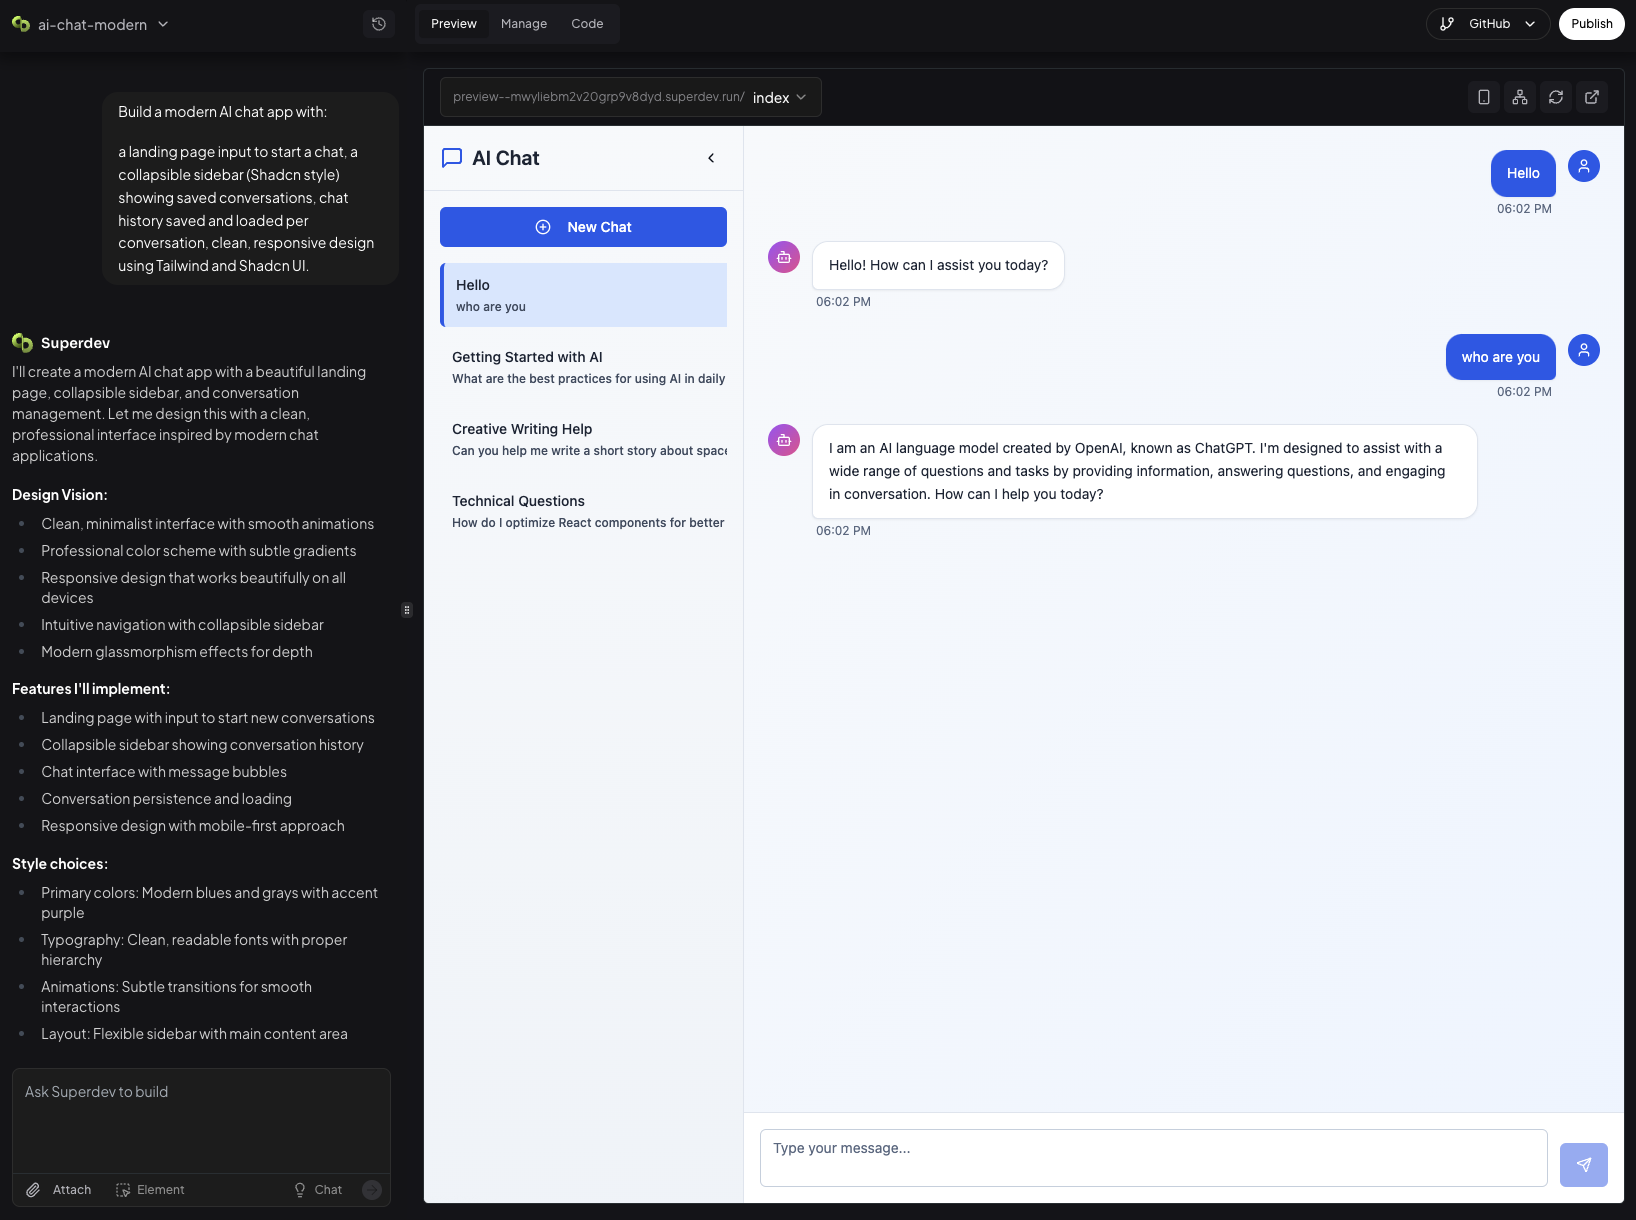
Once you click on the green arrow, You’ll be redirected to the app chat interface, where you can see the app being created, as well as request changes after the creation is complete. The building process will take a few minutes, where you’ll be able to see the progress in the chat interface. If you’re technical, you can also see the files and the code being generated.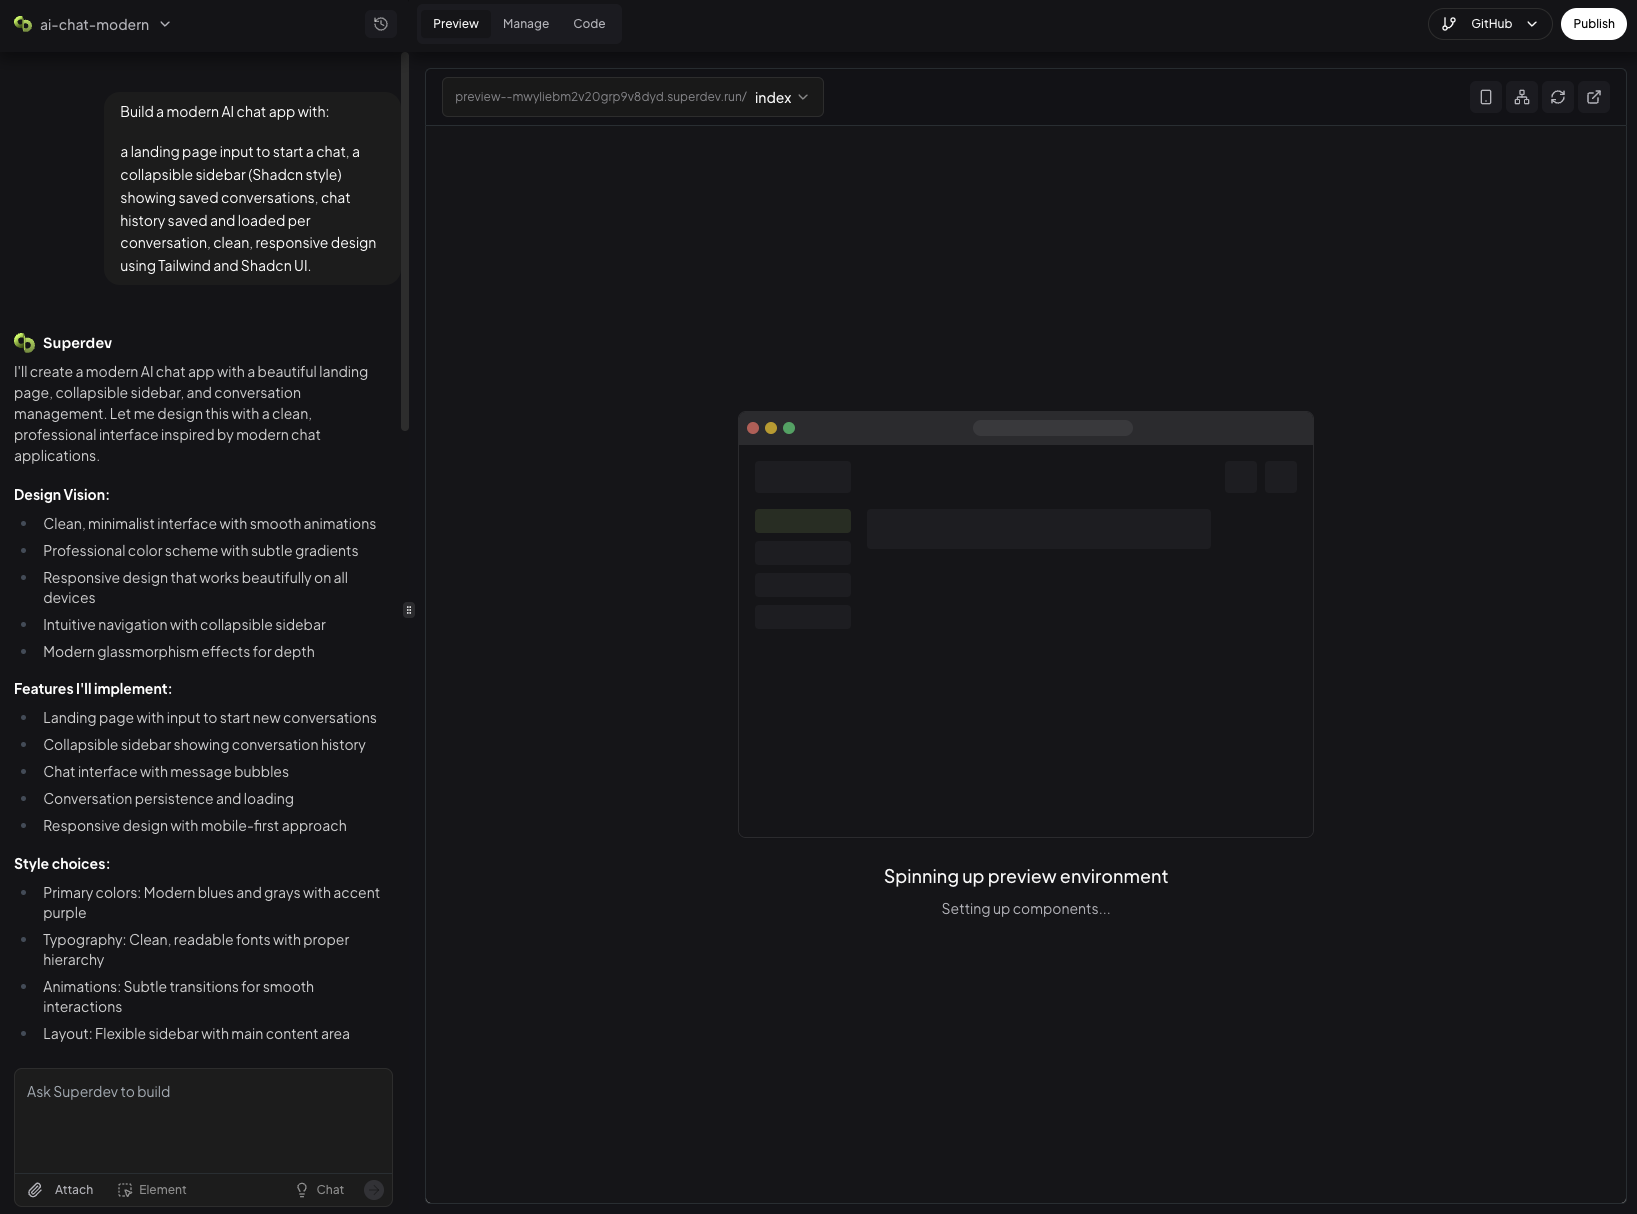
Requsting changes
To request changes, simply type in the chat interface the changes you’d like to make. You can also attach a screenshot of the changes you’d like to make.Tip: Try to be specific with your changes. Do not ask for many changes at once.
Managing the app
Since every app is a full-stack app, it comes with a lot of features that you can manage. On the right side of the screen, you’ll see the “Manage” tab. Clicking on it will open the dashboard of the app. In the dashboard, you can find the following tabs:Database
The database is a key part of the app, and it’s where you can store your data. In Buildy, every piece of the data stored in your app, is called an “Entity”. An entity is a collection of data that is related to a specific concept in your app. For example, if you’re building a chat app, you might have an entity of Chat. Users entity is a special entity that is used to store user data by default, automatically created when you create a new app. Each entity has a set of fields that define the data that can be stored in it. For example, the Message entity might have fields for “title”, “messages”, “last_message_at”, etc.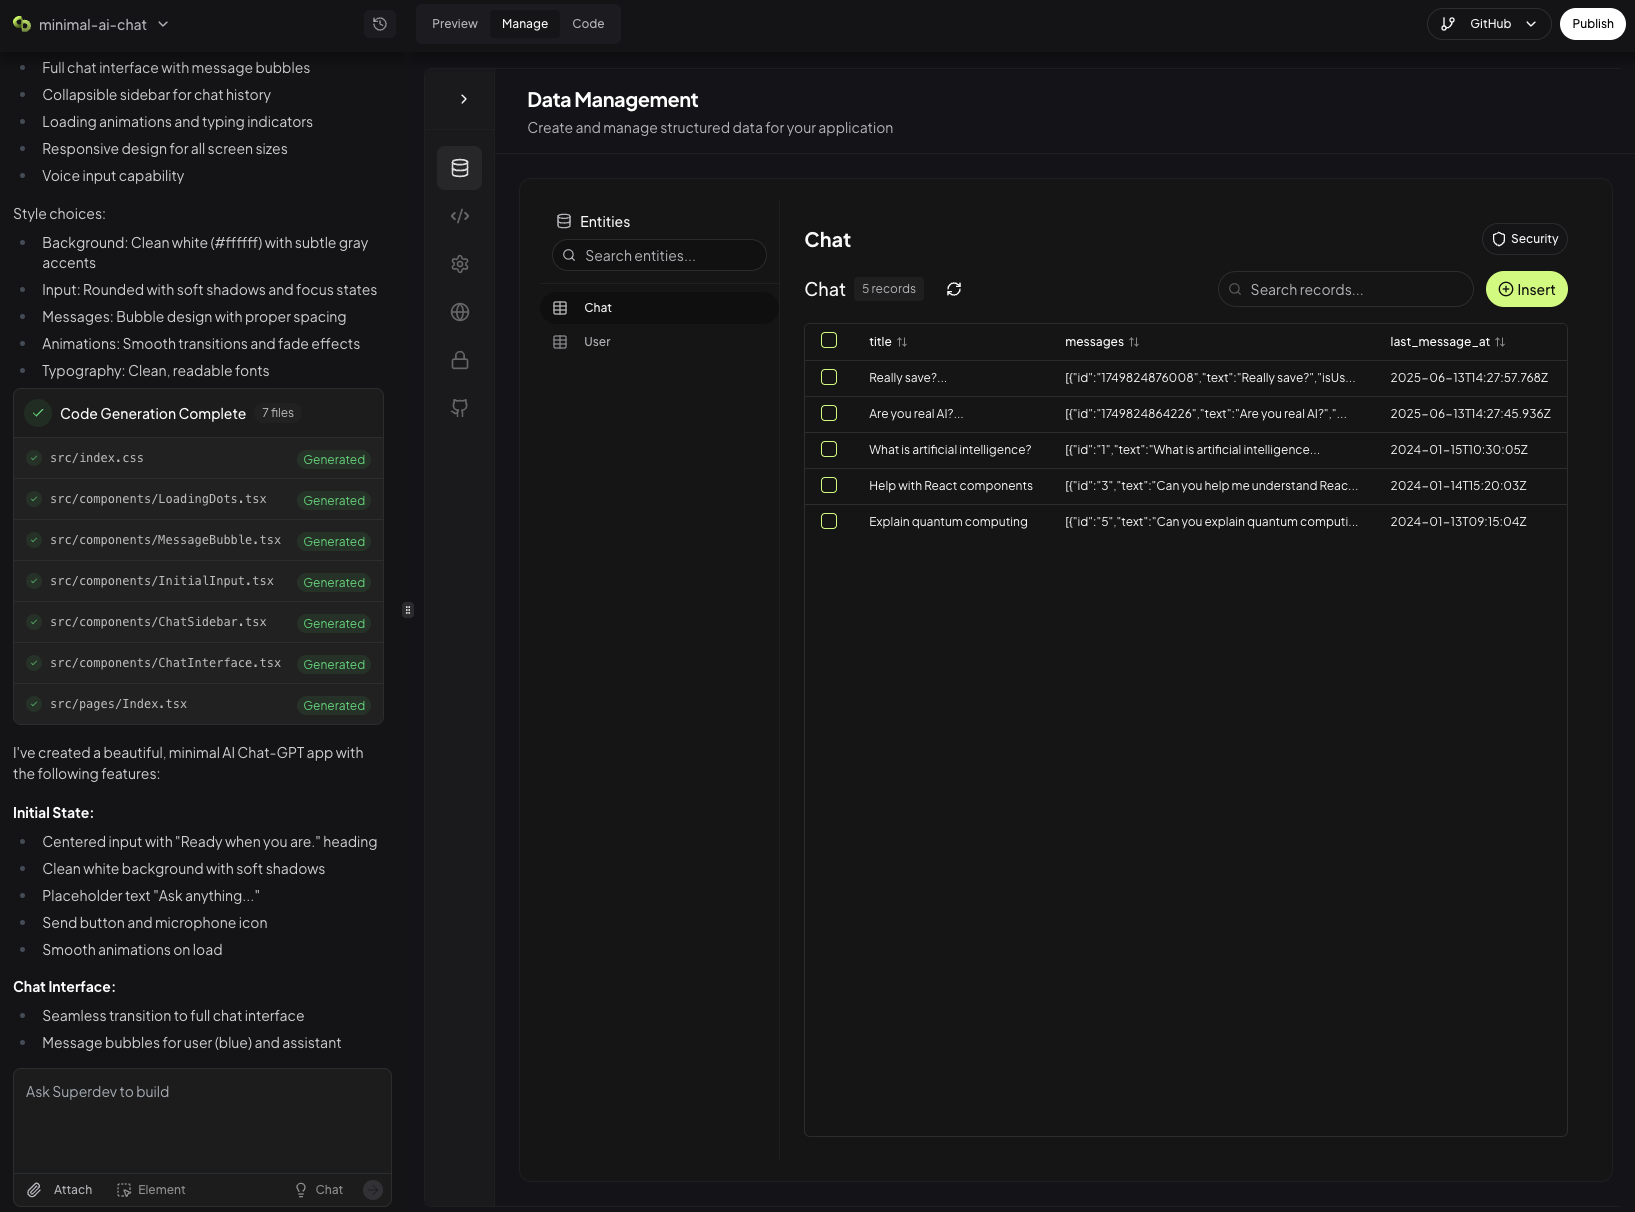
App Settings
Buildy made it easy to manage your site branding, favicon, and app visibility. Since Buildy comes with a built-in authentication system, you can also manage your app’s visibility settings and make it public, private, or public but only for a group of users. To do so, simply scroll to the “App Settings” section, and select your desired visibility.Custom Domains
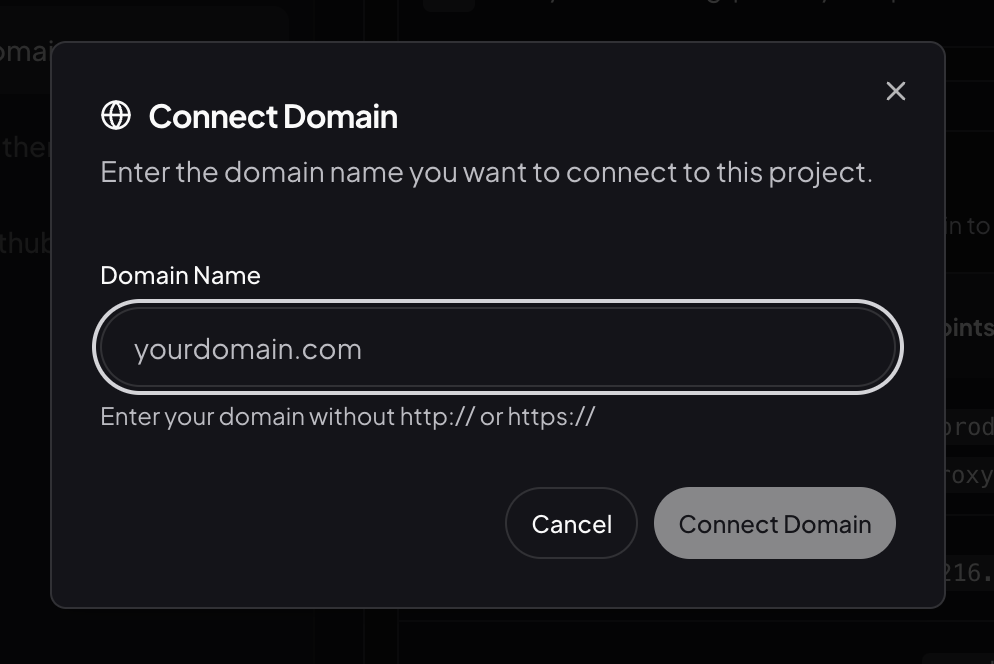
Buildy allows you to connect your own domain to your app. To do so, simply click on the “Custom Domains” tab, and add your domain.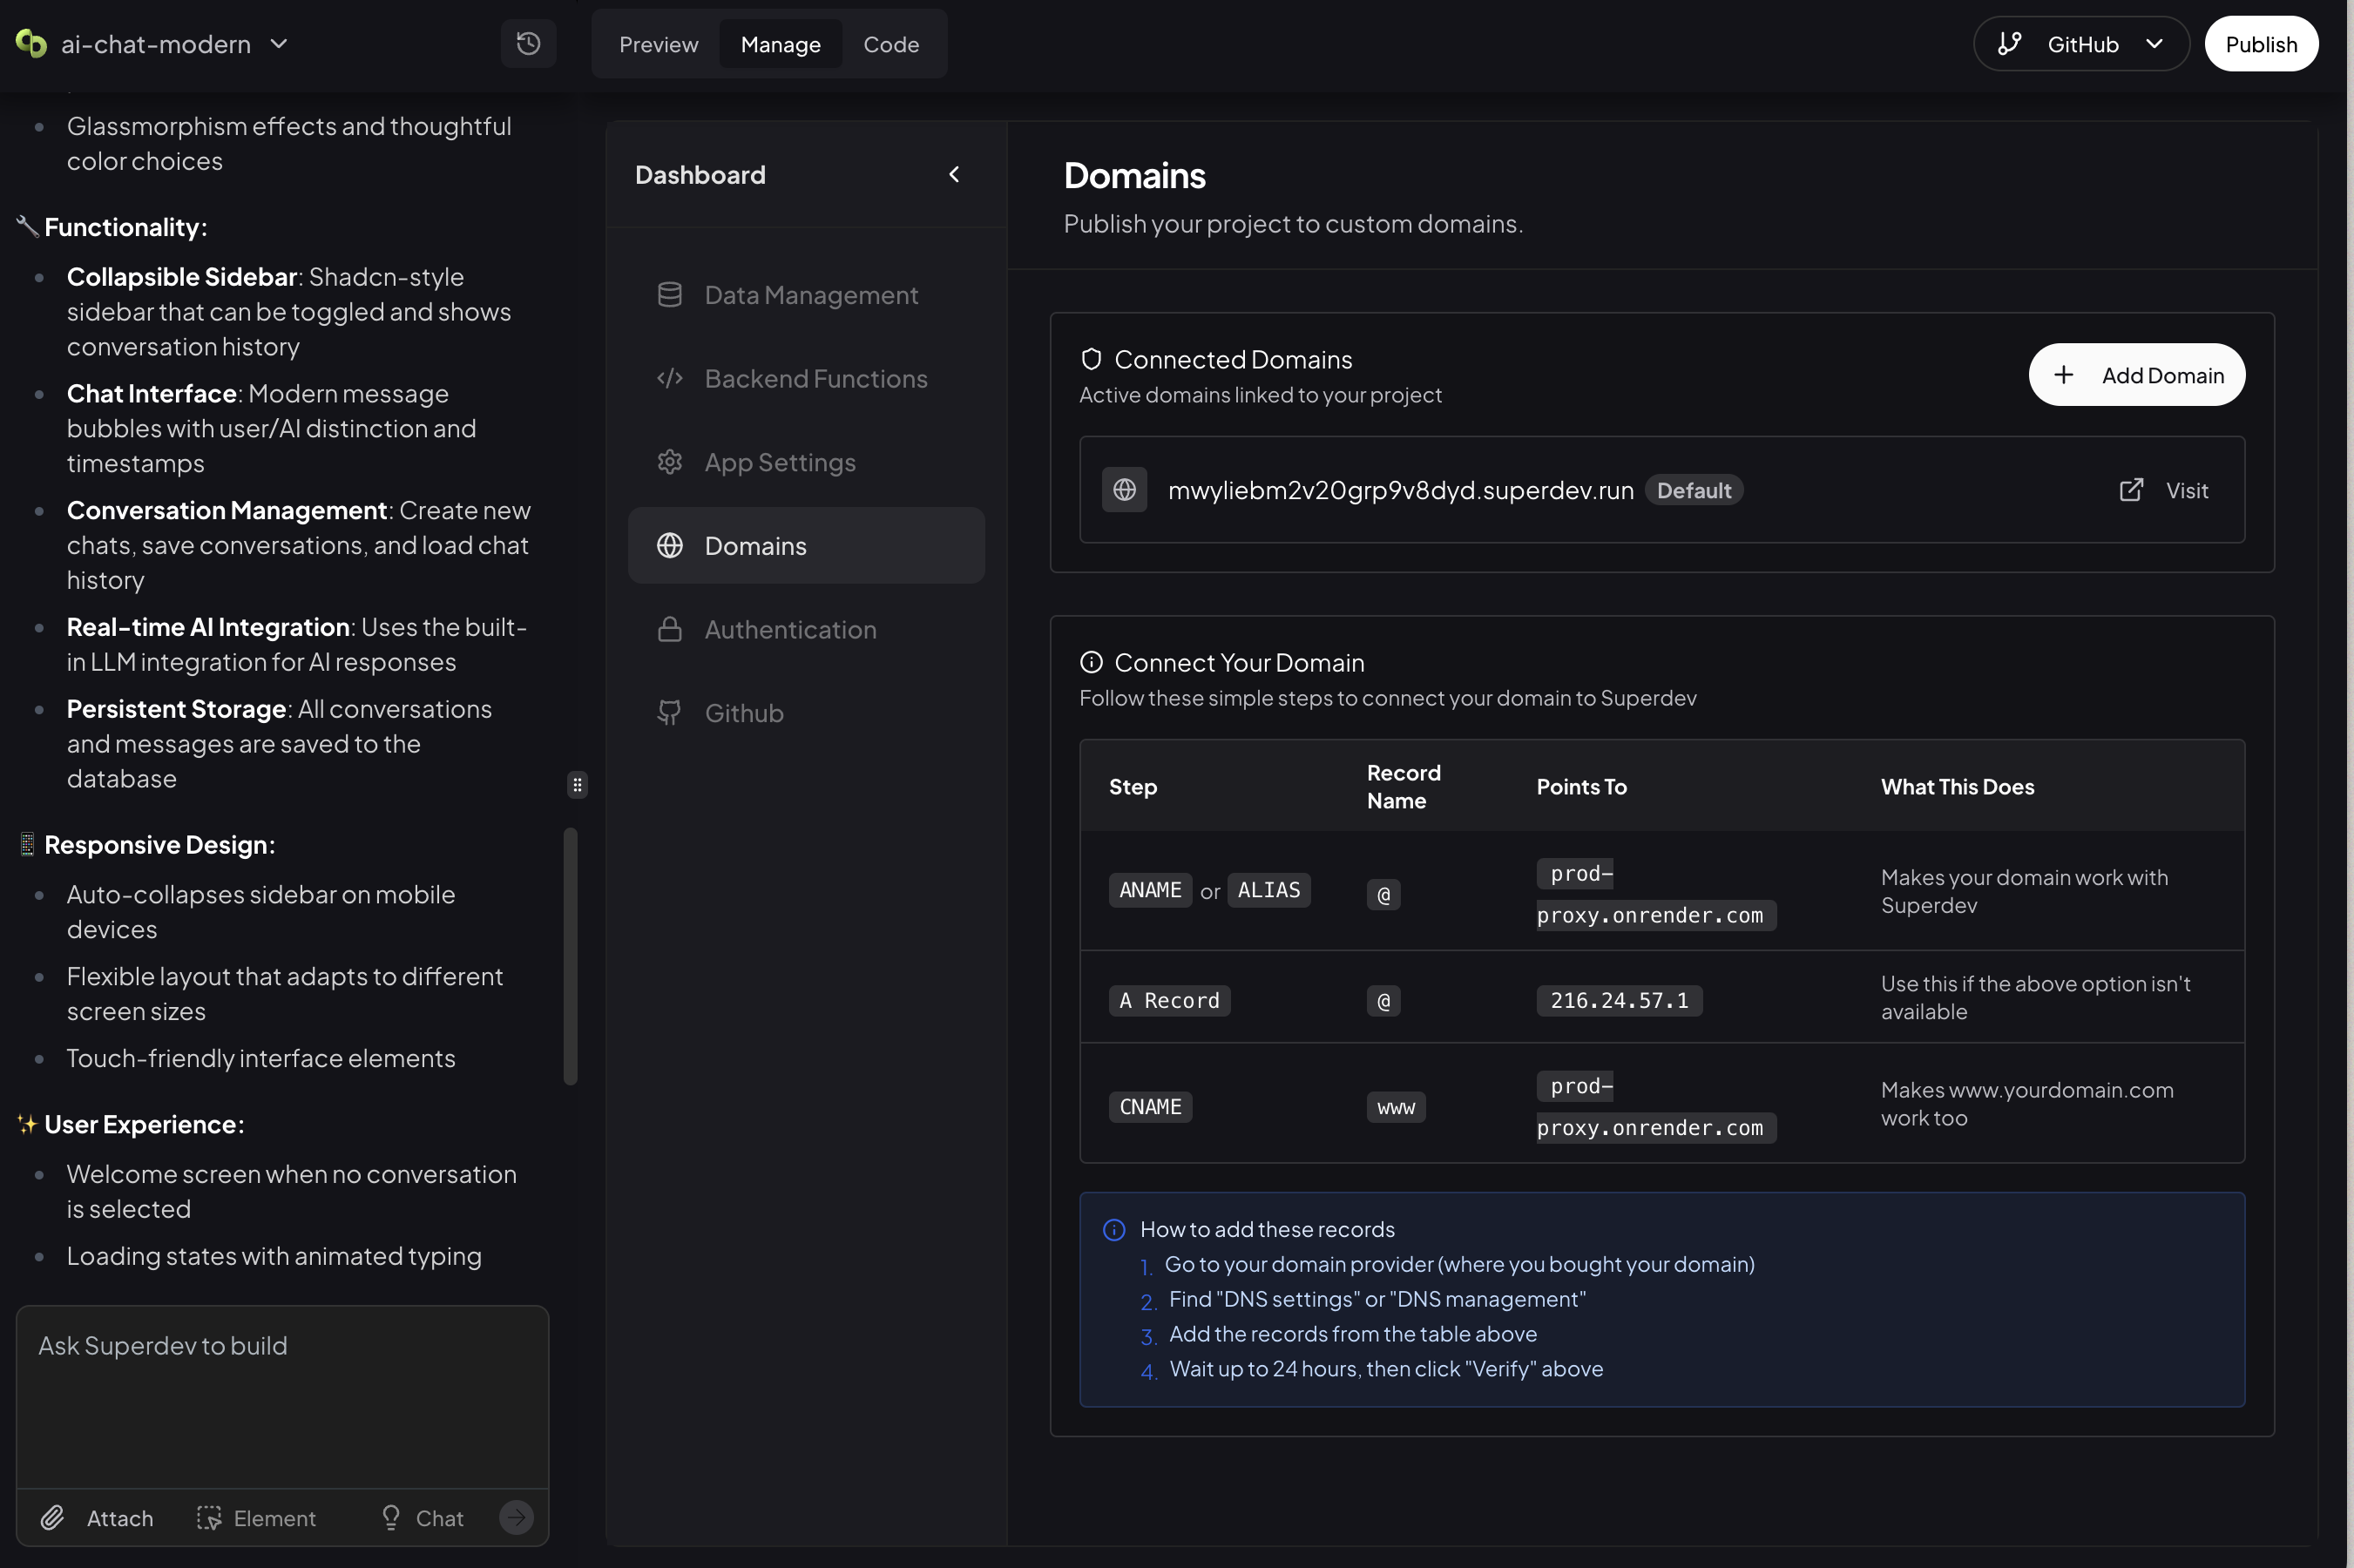
Authentication
Buildy comes with a built-in authentication system that allows you to manage your users and their permissions. We also made it easy to manage the Authentication UI of your app. Simply click on the “Authentication” tab, and you’ll be able to see the Authentication UI of your app. You can customize the App name, Welcome message, Footer, logo, colors palette, and more.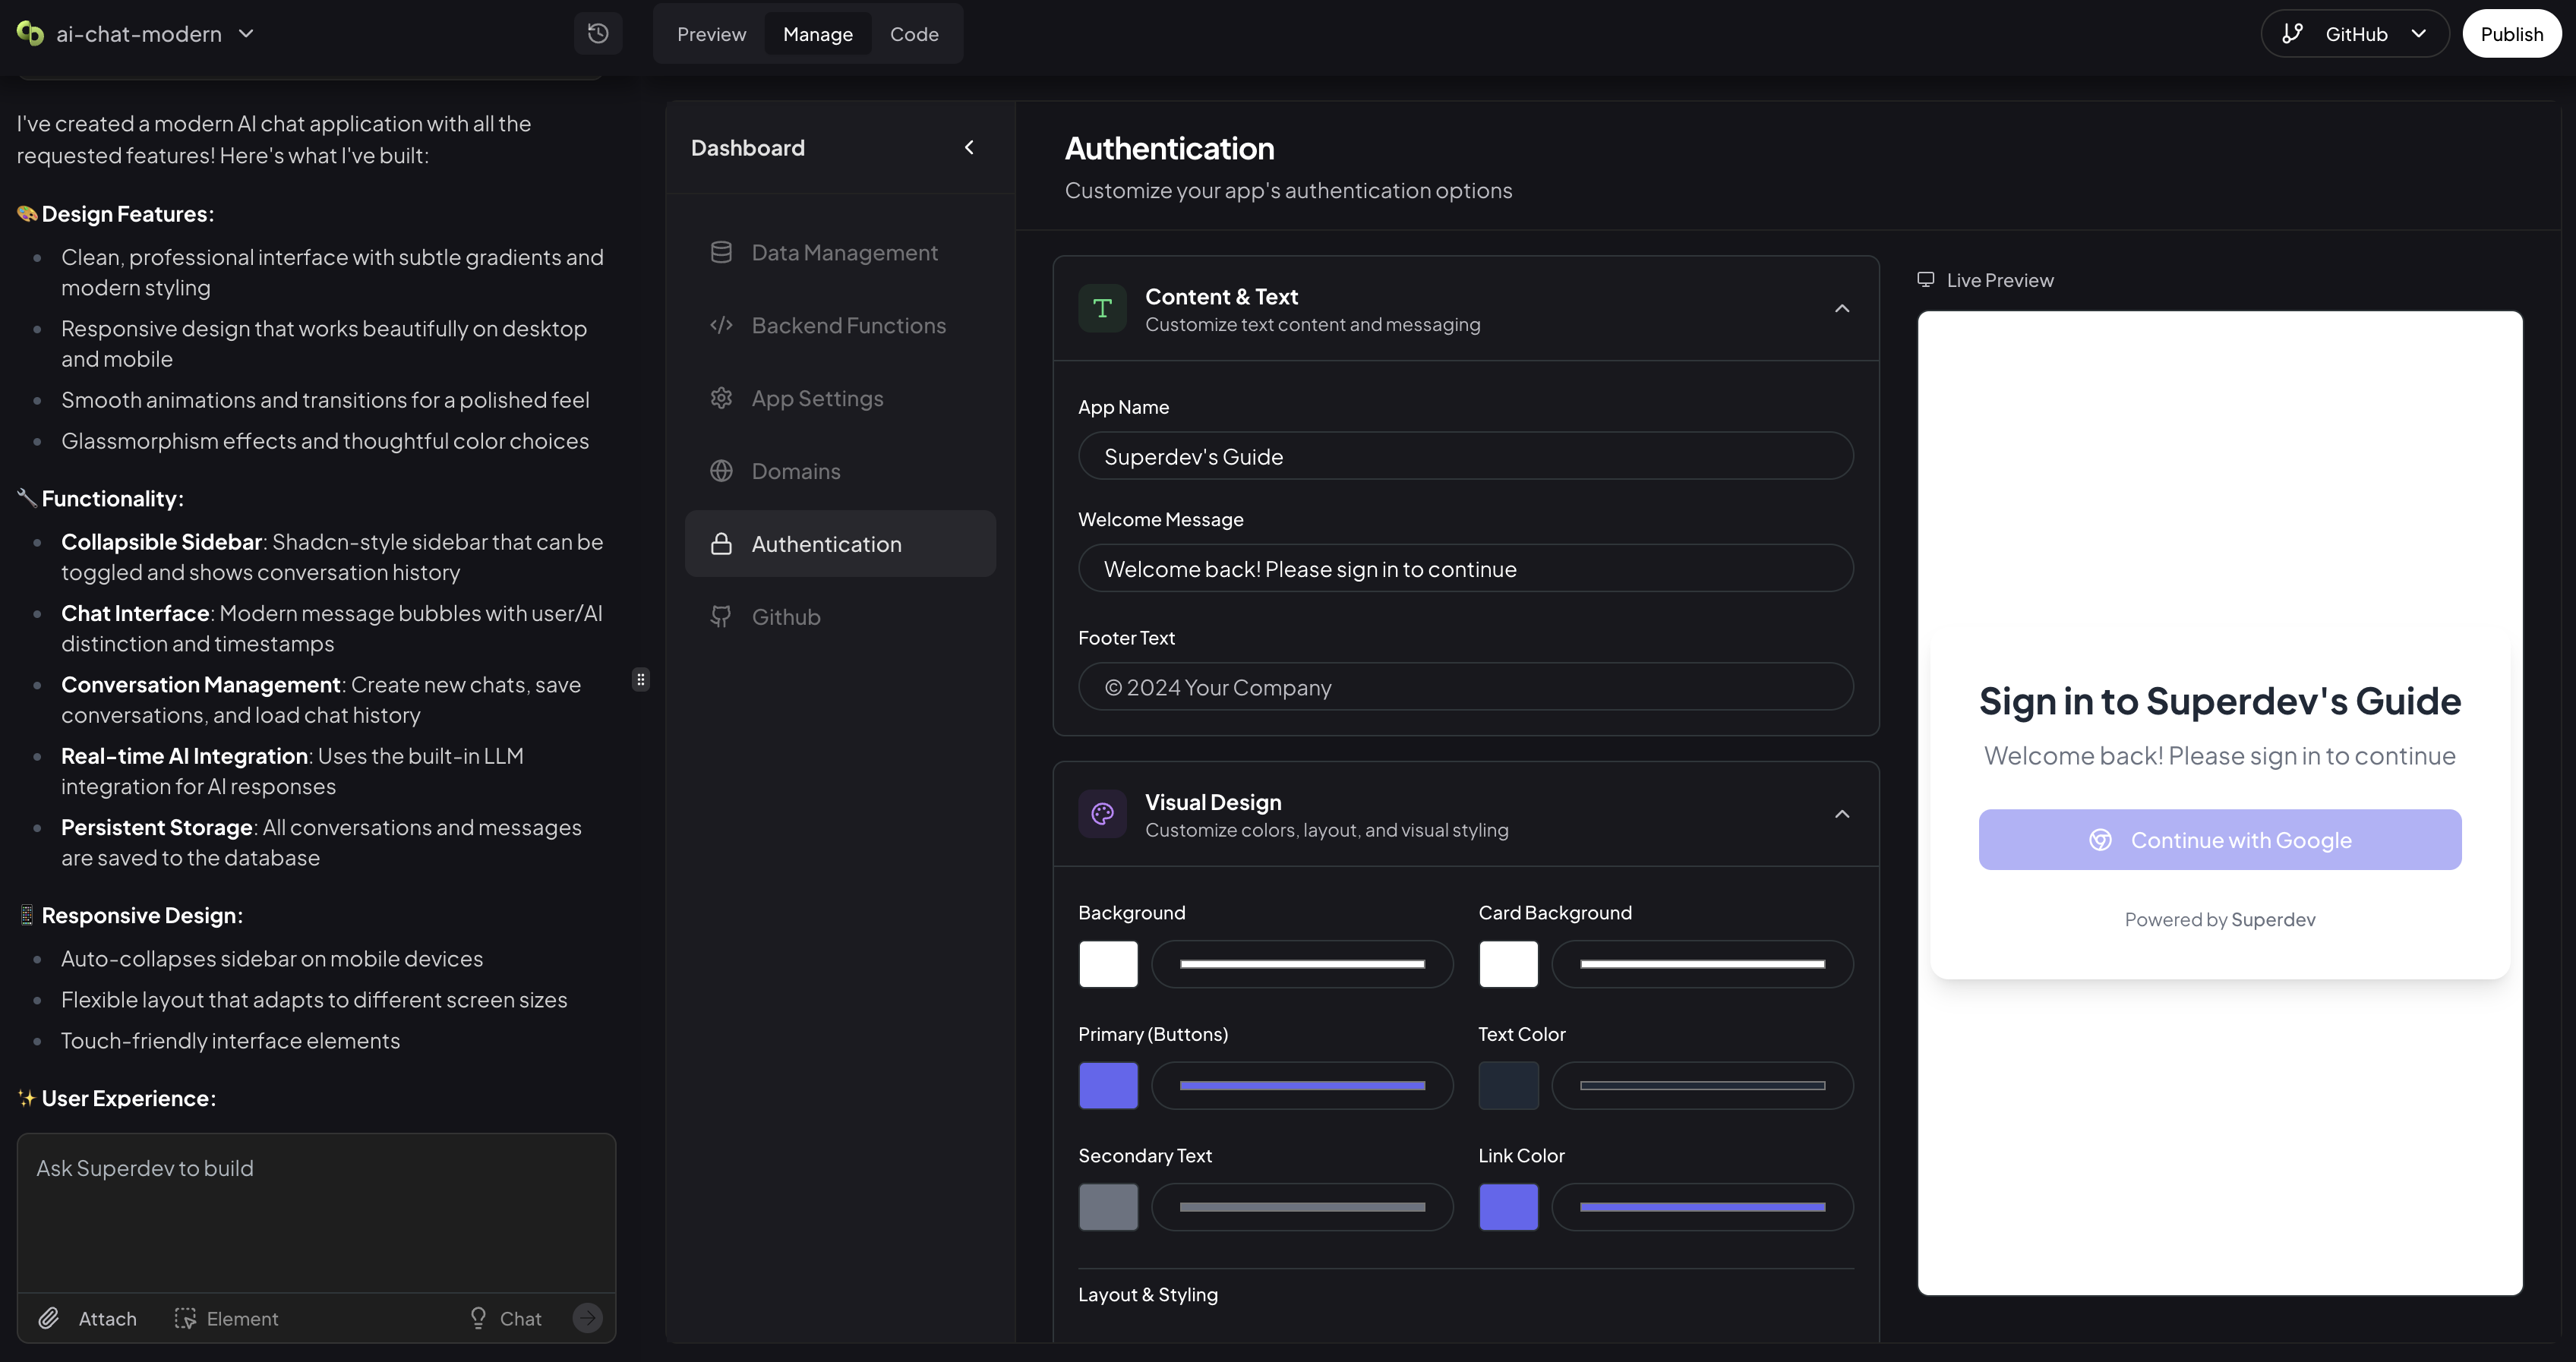
Code Editor
If you’re technical, you can also edit the code of your app. Simply click on the “Code” tab, and you’ll be able to see the code of your app.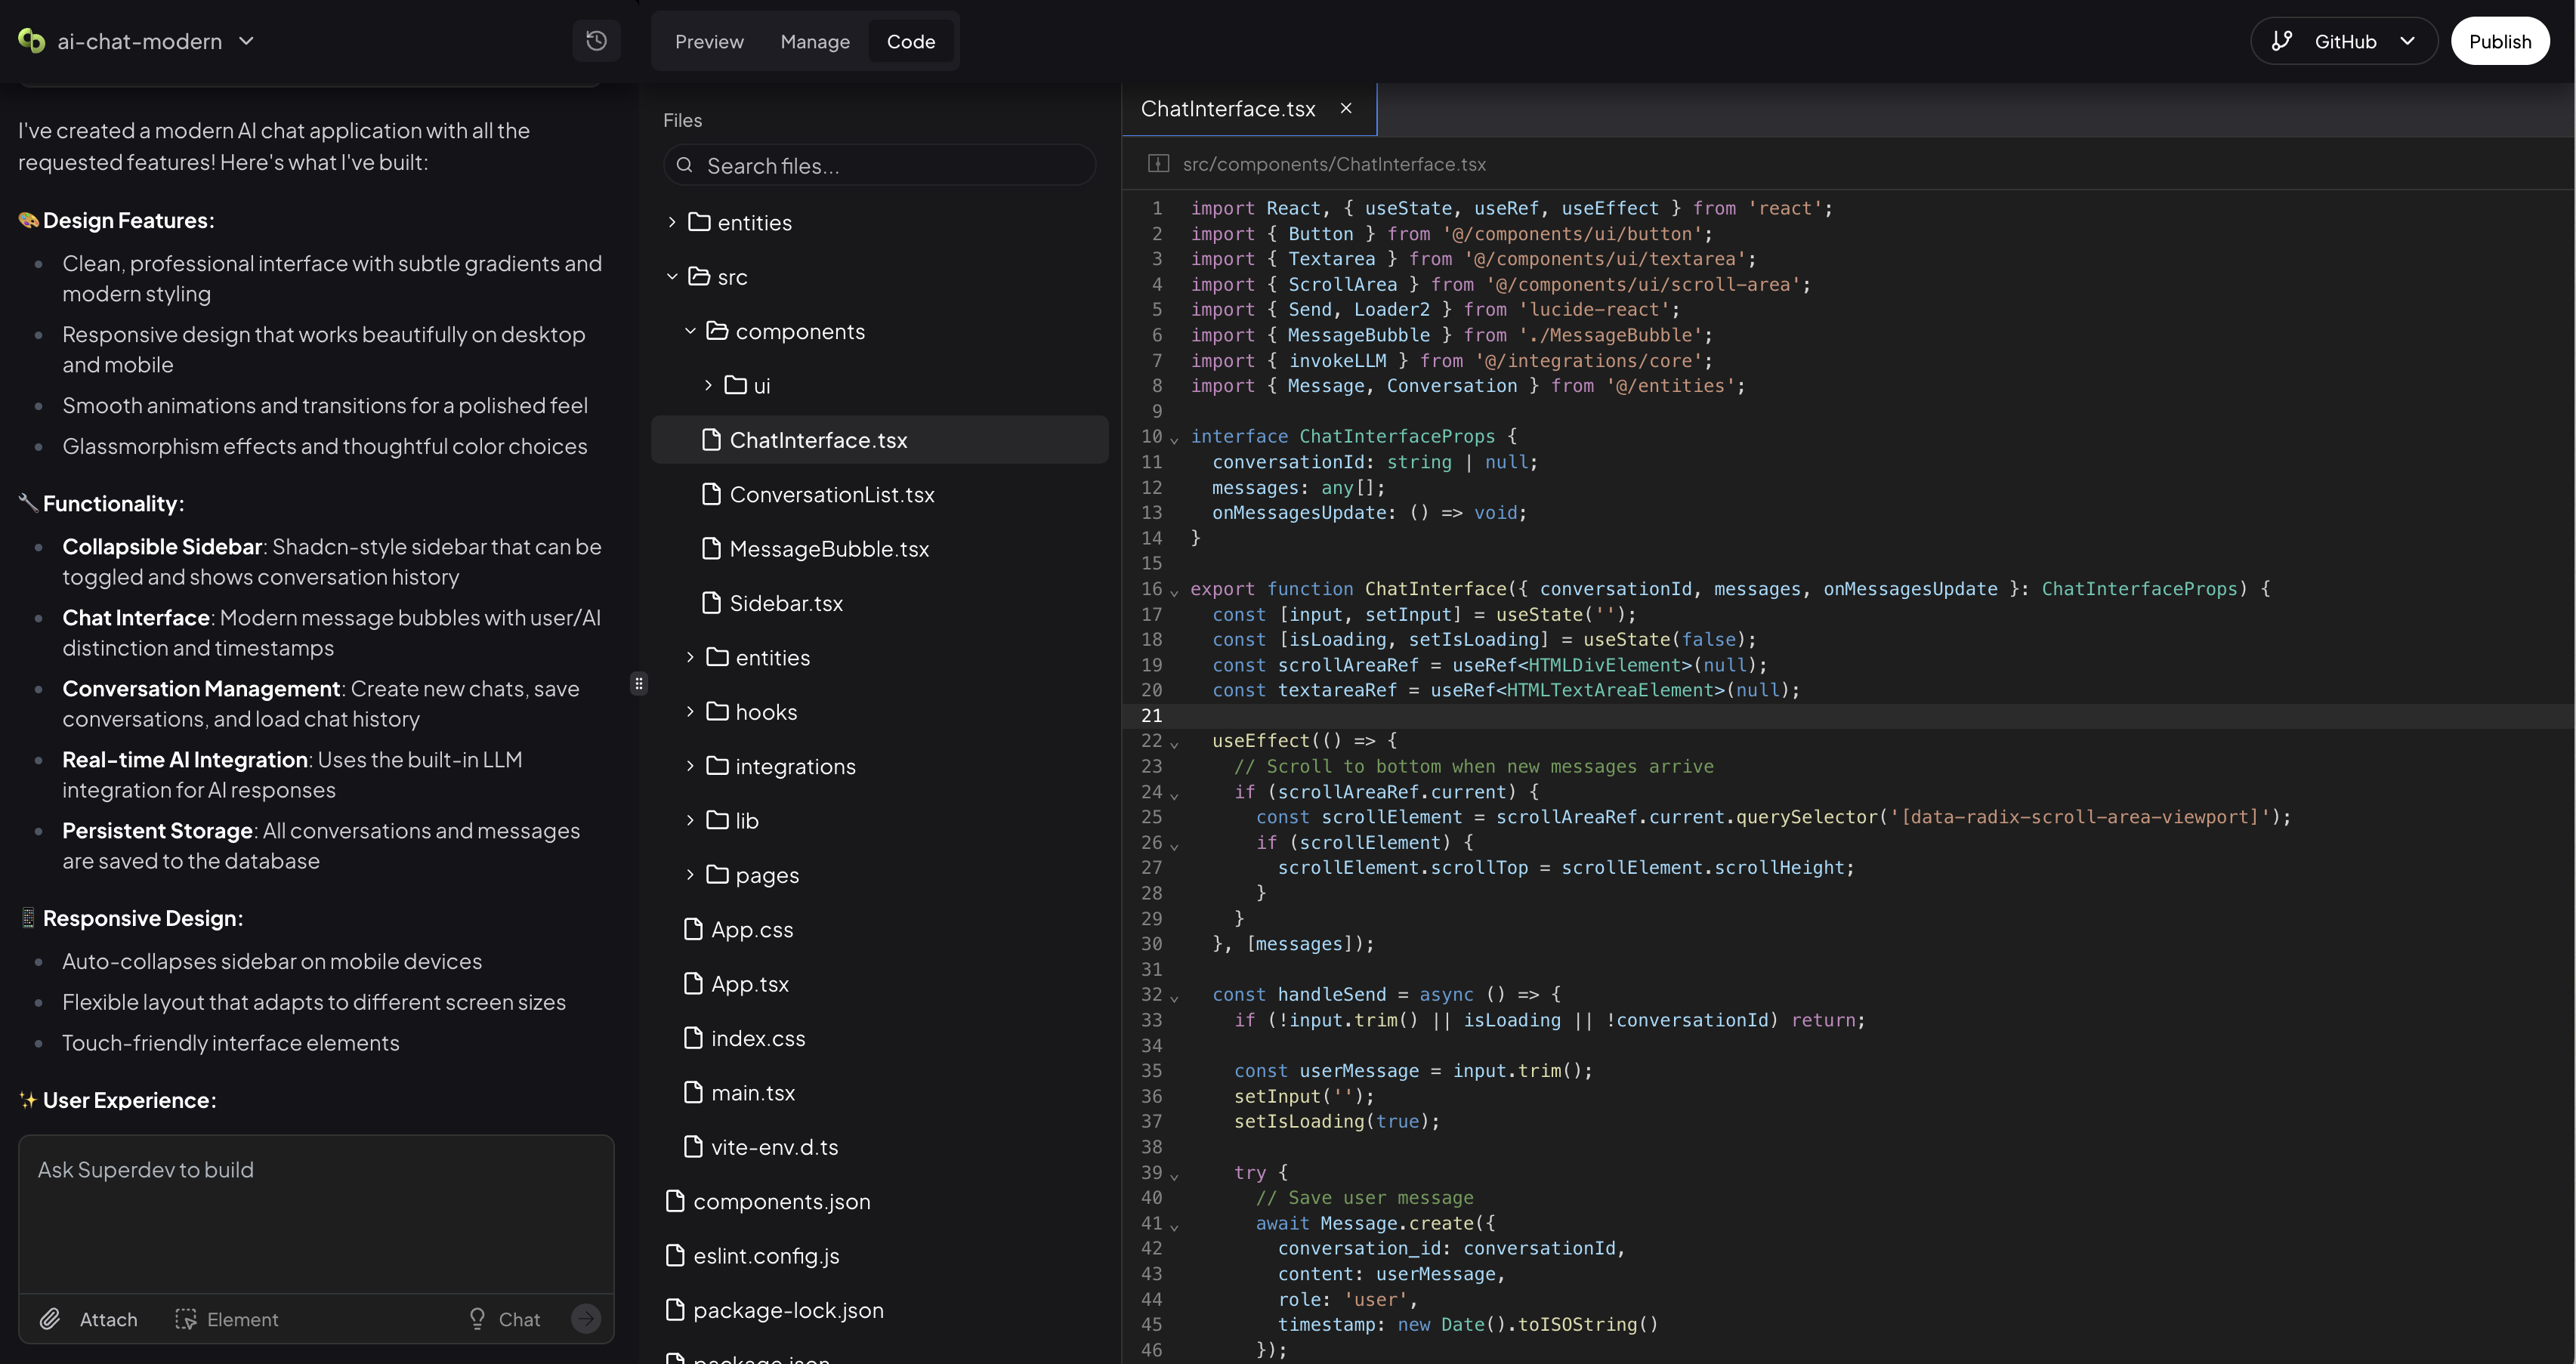
Deploying
To deploy your app, on the top right corner of the screen, you’ll see the “Publish” button. Clicking on it will open a popover where you can see to which domain your app is going to be deployed.It’s important to note that every change the AI makes to the app will not be reflected to your users until you deploy the app.